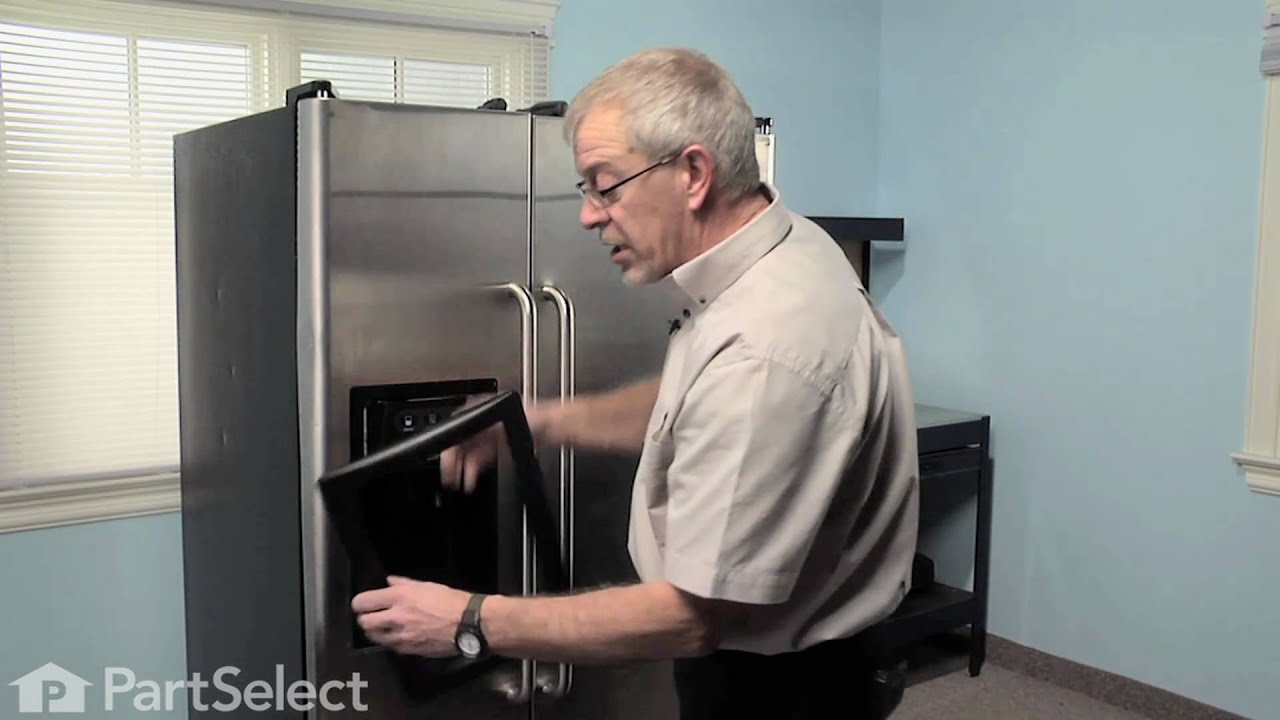
GE Refrigerator Door Water Dispenser Mechanism Replacement
Replacing a failing water dispenser mechanism in a GE refrigerator door is a common repair that can restore full functionality to the appliance. This process typically addresses issues such as no water dispense, slow flow, or continuous dripping, often stemming from solenoid failure, actuator switch malfunction, or internal line blockage. A methodical approach, precise diagnostics, and correct part selection are crucial for a successful repair.
Diagnosing Water Dispenser Malfunctions
Accurate diagnosis is paramount before initiating any component replacement. Common symptoms include a complete lack of water flow, significantly reduced flow rate, or persistent dripping. Begin by verifying the water supply line is connected and the shut-off valve is fully open, ensuring a minimum of 20 PSI at the refrigerator inlet. Next, inspect the water filter; a clogged filter can reduce flow by 50% or more. GE refrigerators typically require filter replacement every six months or 1500 gallons.

If water flow is absent, disconnect power and access the dispenser mechanism components. Using a multimeter, check the continuity of the dispenser actuator switch; it should show continuity (near 0 ohms) when pressed and open (infinite resistance) when released. For the water valve solenoid, which is often integrated into the dispenser assembly, measure its resistance. A functional solenoid typically registers between 200 and 500 ohms. An open circuit (infinite resistance) or a short circuit (near 0 ohms) indicates a faulty solenoid requiring replacement. Additionally, confirm 120V AC is supplied to the dispenser solenoid when the actuator is pressed, using caution and appropriate safety measures.
Component Procurement and Selection Considerations
When replacing a GE refrigerator door water dispenser mechanism, careful component selection impacts both performance and longevity. The primary options are Original Equipment Manufacturer (OEM) parts, aftermarket components, and a hybrid approach utilizing specific sub-components. GE part numbers for dispenser mechanisms often begin with WR55X, followed by specific model identifiers (e.g., WR55X10942 for a common solenoid valve assembly).
OEM parts, sourced directly from GE or authorized distributors, offer guaranteed compatibility and adherence to original specifications. While generally 25-50% more expensive than aftermarket alternatives (e.g., $80-$150 for an OEM solenoid assembly versus $30-$80 for aftermarket), they typically come with a 1-year manufacturer’s warranty. Aftermarket parts, manufactured by third-party companies, provide a cost-effective alternative. However, their quality control can vary, potentially leading to shorter operational lifespans or minor fitment issues. Warranties for aftermarket components are often limited to 90 days. A hybrid strategy might involve replacing only a confirmed faulty sub-component, like the dispenser actuator switch (costing $15-$30), if the solenoid valve or other integrated parts are confirmed functional, reducing overall repair expense.
Disassembly and Mechanism Replacement Procedure
Prior to any repair, disconnect the refrigerator from the main power supply (120V AC) to prevent electrical shock. Shut off the household water supply valve to the refrigerator. Begin by locating and carefully removing the dispenser trim panel, which may be secured by concealed clips, adhesive, or small Phillips head screws often hidden under decorative caps. Use a plastic pry tool to avoid scratching the appliance finish. Once the trim is off, access the control board and internal components.
Systematically disconnect all electrical harnesses connected to the dispenser components (e.g., actuator switch, LED lighting, solenoid valve). These often have locking tabs that require gentle pressure to release. Trace the water line that feeds the dispenser mechanism; it is typically a 1/4-inch polyethylene tube secured by a compression fitting or a push-to-connect fitting. Carefully release this connection, noting that residual water may drain. The dispenser mechanism itself is usually secured by 2-4 mounting screws (e.g., 1/4-inch hex head or Phillips head) or a series of interlocking plastic tabs. Remove these fasteners, then gently pull the entire mechanism assembly away from the door panel. Transfer any reusable components, such as the LED light board or specific wire routing clips, to the new mechanism. Install the new mechanism by reversing the removal steps, ensuring all electrical connections are secure and the water line connection is leak-free.
Reassembly, Testing, and Post-Installation Checks
After installing the new water dispenser mechanism, carefully reassemble the door components, ensuring all wires are properly routed and not pinched. Secure the mounting screws for the mechanism, then reattach the trim panel, confirming all clips engage or screws are tightened appropriately. Before restoring full power, reconnect the household water supply line to the refrigerator and check for any immediate leaks around the water line connection points at the dispenser and the main water valve behind the unit. Allow the water system to pressurize for 5-10 minutes.
Restore power to the refrigerator. Dispense approximately 2-3 gallons of water to purge air from the new lines and filter system. This is crucial for eliminating sputtering and ensuring consistent flow. Monitor for any delayed leaks at the dispenser outlet or internal connections over a 24-hour period. Verify the flow rate; a properly functioning dispenser should deliver approximately 7-8 ounces of water in 10 seconds. Check the water temperature, which should be within 35-40°F (1.7-4.4°C) after sufficient cooling time. If issues persist, re-verify electrical connections and solenoid operation. Inspect the ice maker functionality, as the water supply typically branches from the same primary line.
| Option | Estimated Cost (Parts Only) | Estimated Repair Time (DIY) | Technical Difficulty (DIY) | Warranty (Typical) |
|---|---|---|---|---|
| OEM Mechanism Assembly | $80 – $150 | 45 – 90 minutes | Moderate | 1 year |
| Aftermarket Mechanism Assembly | $30 – $80 | 60 – 120 minutes | Moderate to High (fitment) | 90 days |
| Professional Service (Parts & Labor) | $200 – $400+ | N/A (Technician Time) | Low (for homeowner) | 30 – 90 days (labor), 1 year (parts) |
| Specific Sub-component (e.g., Switch) | $15 – $30 | 30 – 60 minutes | Low to Moderate | 90 days – 1 year |
- Disconnect Power and Water: Always cut power to the refrigerator and shut off the water supply before starting any work to prevent electrical shock or water damage.
- Document Disassembly: Take photos or videos at each step of disassembly. This visual reference is invaluable for correct reassembly, especially for wire routing and clip placement.
- Verify Part Numbers: Double-check the exact model number of your GE refrigerator and cross-reference it with the replacement part number (e.g., WR55X10942) to ensure compatibility before purchase.
- Use Appropriate Tools: Employ insulated screwdrivers and proper pry tools to prevent damage to plastic components or risk of electrical contact. A multimeter is essential for accurate diagnostics.
- Perform Leak Checks Systematically: After reassembly, slowly turn on the water supply and meticulously inspect all connections for drips over 15-minute intervals before fully re-energizing the unit.
- Purge Air from System: Dispense at least 2-3 gallons of water after the repair to clear air from the lines, preventing sputtering and ensuring consistent water flow.